
Walking through a well-designed commercial space, you immediately notice the difference that quality wall finishes make. The smooth, professional appearance of properly installed drywall and expertly applied paint creates an atmosphere that speaks volumes about your business. Yet achieving these results requires more than just picking up a brush and some paint—it demands understanding the intricate balance of materials, techniques, and expertise that go into commercial wall finishes.
Whether you’re a property manager overseeing multiple commercial spaces or a business owner planning your next renovation, the decisions you make about drywall installation and commercial painting will impact your space for years to come. The wrong choices can lead to premature wear, costly repairs, and an unprofessional appearance that affects your business image.
This comprehensive guide will walk you through everything you need to know about commercial wall finishes, from selecting the right drywall for your specific needs to choosing paint finishes that balance durability with aesthetics. You’ll discover professional techniques, learn about maintenance requirements, and gain the knowledge needed to make informed decisions that protect your investment.
Understanding Drywall for Commercial Applications
Types of Drywall and Their Applications
Commercial drywall installation requires careful consideration of your space’s specific needs. Standard drywall works well for most office environments, but specialized applications demand different materials.
Moisture-resistant drywall becomes essential in restrooms, break rooms, and other areas where humidity levels fluctuate. This specially treated material prevents moisture absorption that could lead to mold growth or structural damage.
Fire-resistant drywall offers enhanced safety features, particularly important in high-rise buildings or spaces with specific fire code requirements. The gypsum core contains special additives that help slow fire spread, providing valuable time during emergencies.
Installation Techniques and Finish Levels
Professional drywall installation follows specific finish levels, each serving different purposes. Level 5 finish represents the highest standard, creating an ultra-smooth surface perfect for high-end offices where appearance matters most. This finish requires multiple coats of compound and extensive sanding, resulting in a surface ready for premium paint applications.
Lower finish levels work well for areas where perfect smoothness isn’t critical, helping control costs without sacrificing functionality. Understanding these options helps you balance budget considerations with aesthetic requirements.
Common Repair Scenarios
Even well-installed drywall may require repairs over time. Small holes from picture hanging or furniture moves are easily addressed with patching compound and careful sanding. Larger repairs might require cutting out damaged sections and installing new pieces, followed by proper finishing to blend seamlessly with existing surfaces.
Commercial Painting: Beyond Basic Coverage
Paint Types and Their Performance
Low-VOC paint has revolutionized commercial painting by improving indoor air quality while maintaining excellent performance characteristics. These formulations reduce harmful emissions that can affect employee health and comfort, making them particularly valuable in enclosed office environments.
Durability varies significantly among paint types. Latex paints offer excellent color retention and easy cleanup, while specialized coatings provide enhanced resistance to stains, scratches, and fading. Understanding these differences helps you select paints that match your space’s demands.
Choosing the Right Finish
An eggshell finish strikes an admirable balance for hallways and common areas, offering subtle sheen that hides minor imperfections while remaining easy to clean. This finish level provides durability without the stark appearance of higher-gloss options.
Semi-gloss paint excels in high-traffic areas where frequent cleaning is necessary. Its smooth surface resists stains and allows for thorough sanitization—essential in restrooms, kitchens, and frequently touched surfaces like door frames and trim work.
Application Techniques for Professional Results
Proper application technique makes the difference between amateur and professional-looking results. Professional painters understand spray application methods that create uniform coverage, brush techniques that eliminate streak marks, and roller patterns that ensure consistent texture across large surfaces.
View Our Commercial Wall Finishing Solutions ☑
Surface Preparation: The Foundation of Quality
Priming for Success
Surface preparation determines the longevity and appearance of your finished walls. Proper priming creates a uniform base that helps paint adhere correctly and appear consistent across the entire surface. Different surfaces require specific primer types—new drywall needs sealing primers, while previously painted surfaces might need adhesion promoters.
Patching and Repair Work
Addressing surface imperfections before painting prevents problems from showing through the finished coat. Small holes and cracks require careful filling with appropriate compounds, followed by sanding to create smooth transitions. Larger repairs might need mesh tape or backing material to ensure structural integrity.
Sanding Techniques
Professional sanding creates the smooth surface necessary for premium finishes. Different grit levels serve specific purposes—coarse grits remove major imperfections while fine grits create the smooth surface needed for final paint application. Understanding these progressions helps achieve professional results.
Advanced Techniques and Design Elements
Texture Applications
Orange peel texture adds subtle visual interest to walls while helping hide minor surface imperfections. This popular commercial finish provides enough texture to break up large wall expanses without being overly dramatic or difficult to maintain.
Knockdown texture offers a more modern appearance with its flattened peaks and varied patterns. This technique works particularly well in contemporary office settings where subtle sophistication is desired.
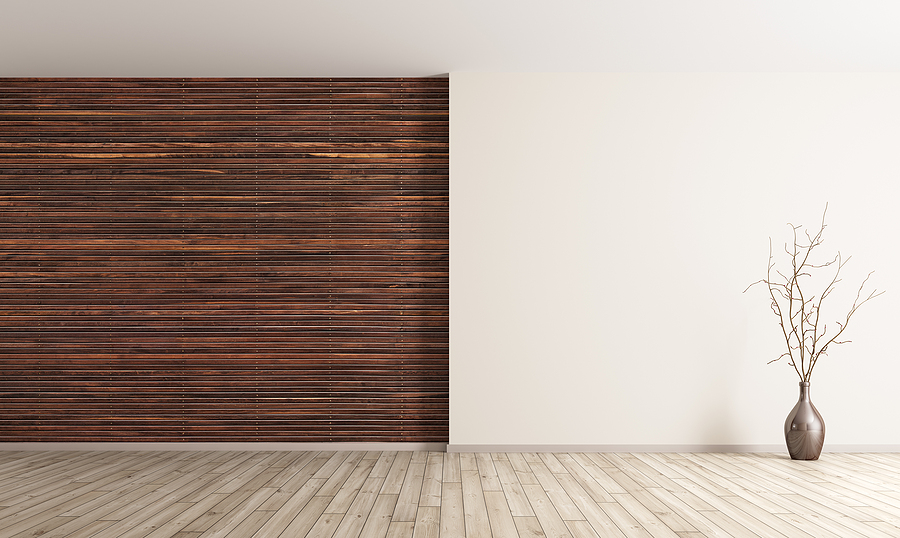
Creating Accent Walls
Wood paneling brings warmth and sophistication to commercial spaces, particularly effective in reception areas or executive offices. Proper installation requires understanding moisture considerations and expansion characteristics to prevent future problems.
Exposed brick creates an industrial aesthetic that’s increasingly popular in modern commercial design. When existing brick isn’t available, faux brick techniques can achieve similar visual impact at lower cost and with better maintenance characteristics.
Durability and Maintenance Considerations
Selecting Long-Lasting Finishes
Durability should guide your finish selection process. High-traffic areas benefit from finishes that resist scuffing and allow frequent cleaning without degrading. Lower-traffic spaces can use finishes that prioritize appearance over extreme durability, helping optimize your budget allocation.
Maintenance Requirements
Regular cleaning with mild soap and water removes everyday soil and prevents stains from setting permanently. Establishing cleaning protocols helps maintain appearance and extends the time between repainting cycles.
Prompt repair of damage prevents small problems from becoming major issues. Addressing scratches, holes, or stains quickly maintains professional appearance and prevents deterioration that could require extensive repairs.
Protective Strategies
Protective coatings in high-impact areas minimize wear and extend finish life. These might include chair rail installations, corner guards, or specialized coatings that resist specific types of damage common in your environment.
Proper ventilation reduces moisture buildup that can cause paint failure and mold growth. Understanding your space’s ventilation needs helps select appropriate finishes and maintenance strategies.
Making Informed Investment Decisions
Commercial wall finishes represent a significant investment in your property’s appearance and functionality. The decisions you make today about drywall installation and commercial painting will impact your space for years to come, affecting everything from maintenance costs to employee satisfaction and client impressions.
Understanding the relationship between upfront costs and long-term value helps optimize your investment. While premium materials and techniques cost more initially, they often provide better durability and lower maintenance requirements, delivering superior value over time.
Quality commercial wall finishes require expertise, proper materials, and attention to detail that professional commercial contractors bring to every project. By understanding these fundamentals, you’re better equipped to make decisions that serve your space well for years to come.
Ready to transform your commercial space with professional wall finishes? Contact BAF Corporation for expert advice tailored to your specific needs and budget. Our experienced team can help you navigate the options and create a plan that delivers the professional appearance your business deserves.
Related Post: A Complete Guide to Removing and Replacing Wallcoverings
